Discovery Operations Guide
Interview Tips
Interview Tips
-
Avoid explicitly asking questions about your participants during the interview. Asking direct questions means particpants will answer with what they feel sounds right, good, or insightful.
-
Avoid placing the subject with a window behind them; the light coming through means you won’t be able to see their face.
-
If possible, sit where you can see a clock, but place the particpant, if you have to choice, where they cannot see it. If your participant appears to be losing focus or is getting fidgety, it’s okay to ask to check the time or if they need to take a pause. They might be uncomfortable, but about to provide significant information. Another calming tactic is to ask them if it’s okay to continue.
-
Making small talk helps build rapport, so intstead of jumping right into the research concerns, open the discussion with nuetral matters. Small talk can help create the trust and comfort level that allows for deep, meaningful conversation.
-
Be flexible - every interview is different, so you will need to shift your approach depending on your participant.
-
Mirror their words - don’t lead with what you think they mean. Use their words to ask questions. Sometimes this is as simple as taking a word or phrase they just used and repeating it back to them in a questioning tone of voice.
-
Notetakers should also try to capture non-verbal messages, such as noting the level of passion the participant registers in response to a question, or whether they shift their weight or deflect a topic.
-
Ask for copies of the things they reference. Asking “Could you email that report/ document / flier to me after the interview?” not only gathers information for you but also tells your participant that you are interested in them and their work.
-
Post-interview, team members should offer and welcome feedback about the interview. This feedback about your craft as both interviewers and listeners. Each team member should practice both giving and receiving constructive, nuanced feedback. What worked well? What could the interviewer, notetake, or observer improve on?
Visualize the Interview
This diagram, originally developed by Standford’s d.school, is also available in the HCD Discovery Concept Guide, for your reference. It visualizes the temporal and energetic progression of a successful interview.

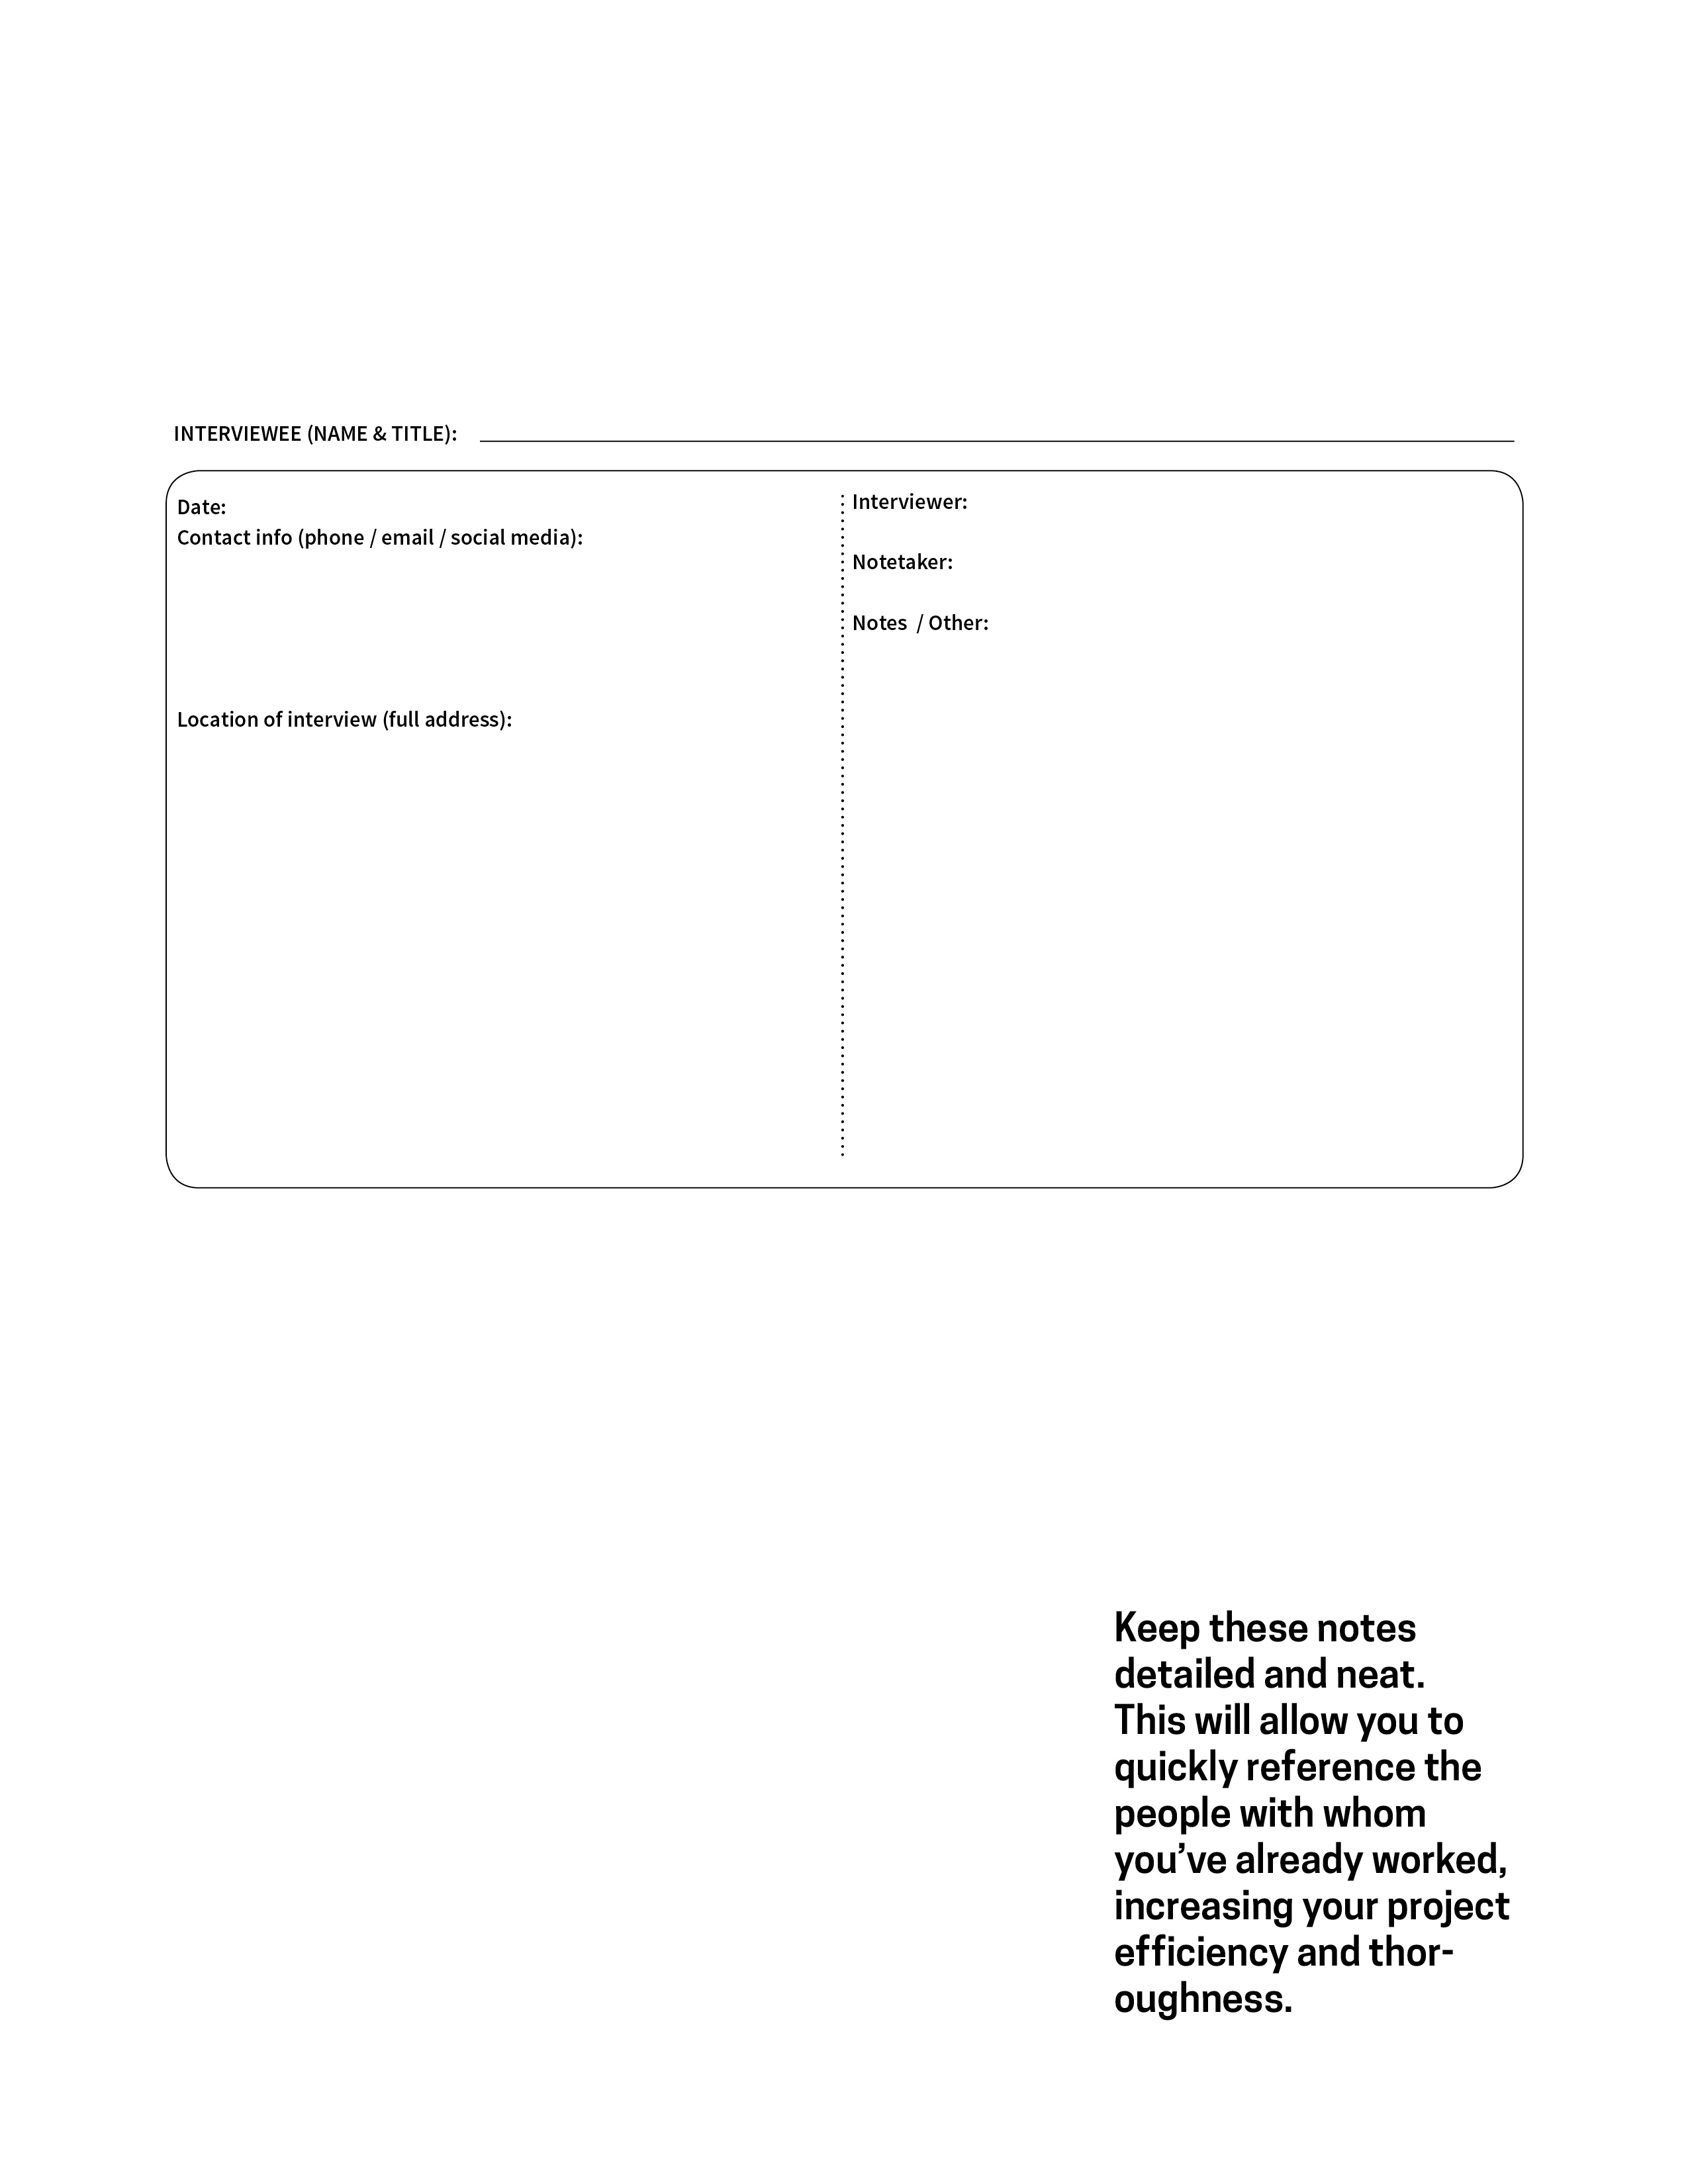
Framework - Tracking Interview details
Use this framework as a model for the detailed record of each interview. This is the basic information that you need to record for each interview. If you don’t use this model, try to choose a model for organizing the information about interviews in a consistent, detailed way.